|
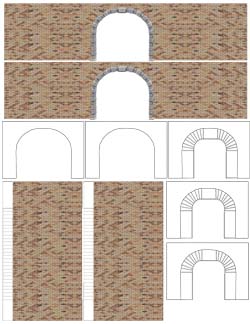
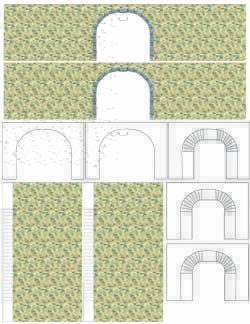
Single Track Portal

|
Two Track Portal
|
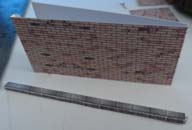
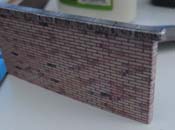
Walls and Caps
|
Stone Walls & Caps
|
Double Stone Portal
|
Single Stone Portal

|
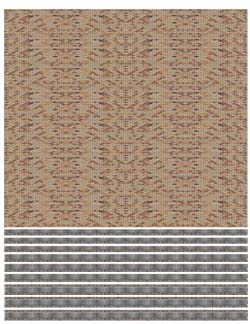
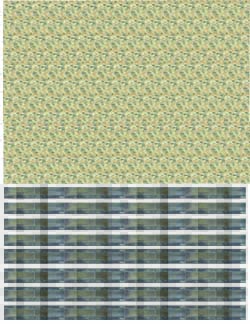
These patterns may be purchased as files so you can print as many walls and tunnels as you like or as preprinted sheets (shipping
applies and you are limited to the sheet(s) you buy, BUT I can guarantee you a high quality, durable print on 110# card stock. The walls are
freeform – just cut to fit your model. More on that later.
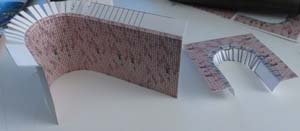
The tunnel sheets are both handled alike. You CAN just cut out each portal and use it free standing, but for a more stable,
realistic design I recommend you follow these directions:
1. Cut out 1 full width portal, one short-wall portal
without glue tabs, 1 short-wall portal WITH glue tabs
and 1 inner wall with glue tabs. DO NOT CUT OFF
THE GLUE TABS. I recommend using a straight edge
and knife on the inner wall to ensure it fits well.

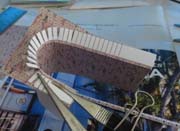
2. Cut glue tabs apart but not off. Note: on the inner wall,
you only need to separate enough tabs to go around the
tunnel arch. For heavy paper, score lightly just past
the edges of the tabs and use a near-folding technique
to form the inner wall to fit the arch. Fold all tabs
toward the blank side of the paper.
3. Place inner wall so the glue tabs fold around the back
of the narrow portal without tabs. Apply glue to the
large starting tab and match it to the small portal.
Clamp until dry.
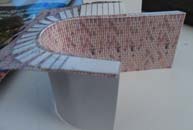
4. Continue gluing tabs around the arch and down the
other side of the portal. You can glue 3 or 4 tabs at
once if you make sure the inner wall matches the portal
arch.
5. Place the portal with tabs face down on a flat surface.
Slip the inner wall into the arch and start gluing it on
from the same edge of the inner wall. You may have to
clamp it with finger pressure.
6. Cut of the excess inner wall straight across the bottoms
of the portals.
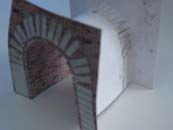
7. Carefully glue the wide portal to match the front of the
tabbed portal, making sure the edges of the inner wall don't show.
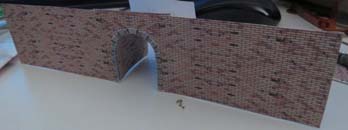
You now have a high class tunnel entrance. How you fit it into your model is up to you.
One final note: if your track curves going into the tunnel, you my have to shorten the inner wall to prevent interferance between trains and the wall.
Now about the walls and caps:
I originally designed the caps for tunnel finishing, but realized you could also have a 2 sided, free-standign wall, so I added a few lines of stone cap with 2 sides. feel free to get creative.
CAPE COD HOUSE
STATION
CHURCH
General Instructions
LAYOUTS
TECHNIQUES
STRUCTURES
Copyright © 2009, 2020 by John E. Suchy. All legal rights reserved.